Creating a website does not have to be hard or expensive. With Blogspot (also known as Blogger), you can set up a website easily without coding knowledge. Blogspot is a free platform from Google that allows anyone to start a blog or simple website. In this article, I will show you how to create a Blogspot website step by step in simple terms.
1. What Is Blogspot?
Blogspot is a platform owned by Google where you can create a blog or website for free. It is easy to use, and you don’t need to pay for hosting. Google takes care of everything.
Why Use Blogspot?
- Free To Use – No need to pay for hosting.
- Beginner-Friendly – Easy setup, no coding required.
- Google Security – Safe and reliable hosting.
- Works Well With Google Services – Easy integration with AdSense, Search Console, and more.
2. How To Create A Blogspot Website
Follow these simple steps to create your Blogspot website:
Step 1: Open Blogger.Com
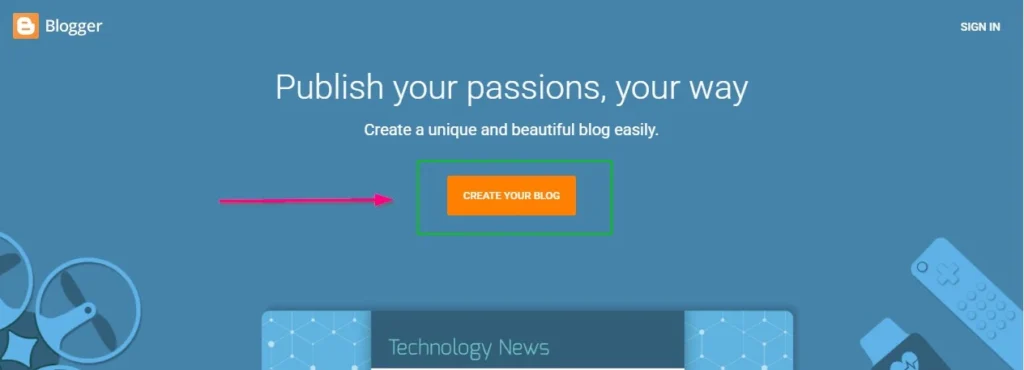
Click on “Create Your Blog” Button. Then Sign in using your Google account. If you don’t have one, create it first.
Step 2: Choose A Blog Name
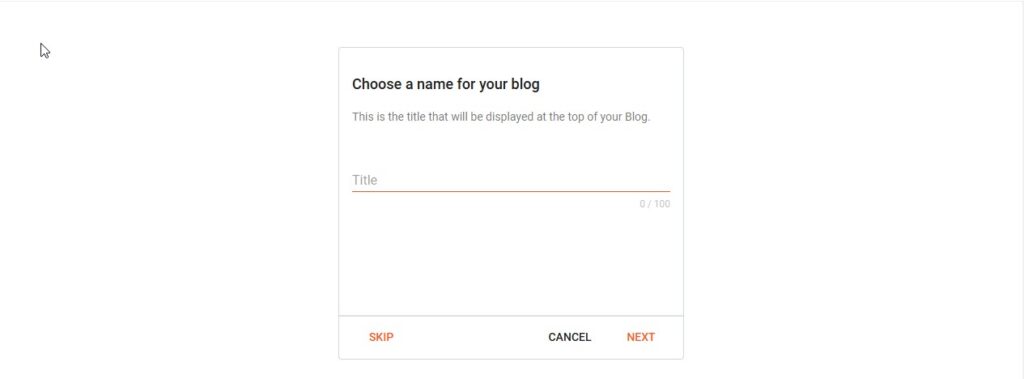
Enter the name of your blog. This is what people will see as the title of your website, example ‘Simas Academy‘, Then Click Next.
Step 3: Choose A Blog Address (URL)
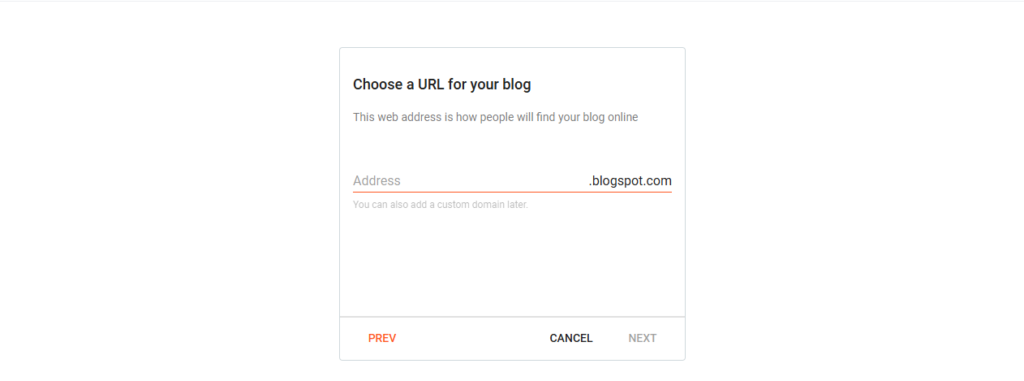
Enter a unique address (URL) for your blog, for example: myblog.blogspot.com. If the name is already taken, try a different one. Then Click Next.
Step 4: Confirm And Finish
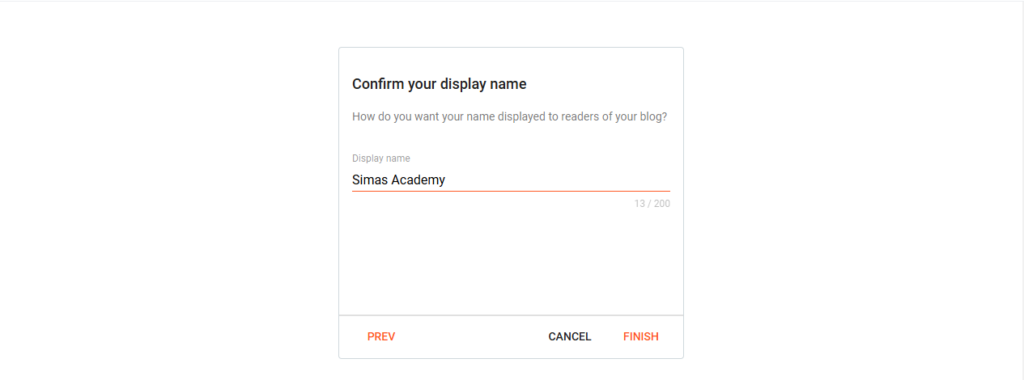
Enter your display name (this is the name that will appear on your posts). And Click Finish.
Congratulations! Your Blogspot website is now live.
3. How To Customize Your Blogspot Website
Your blog is created, but now let’s make it look better by adding more features.
Step 1: Choose A Theme
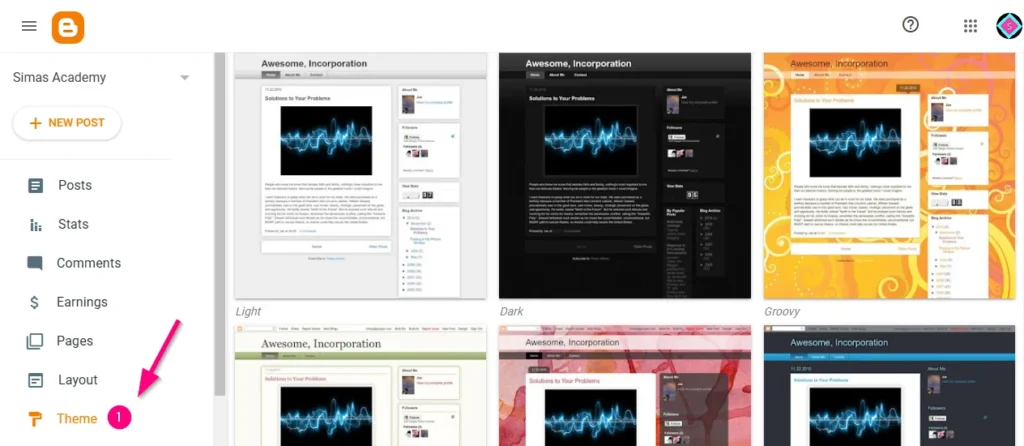
- Go to Theme in the Blogger dashboard.
- Choose a theme that fits your style.
- Click Apply to save.
Step 2: Customize The Layout
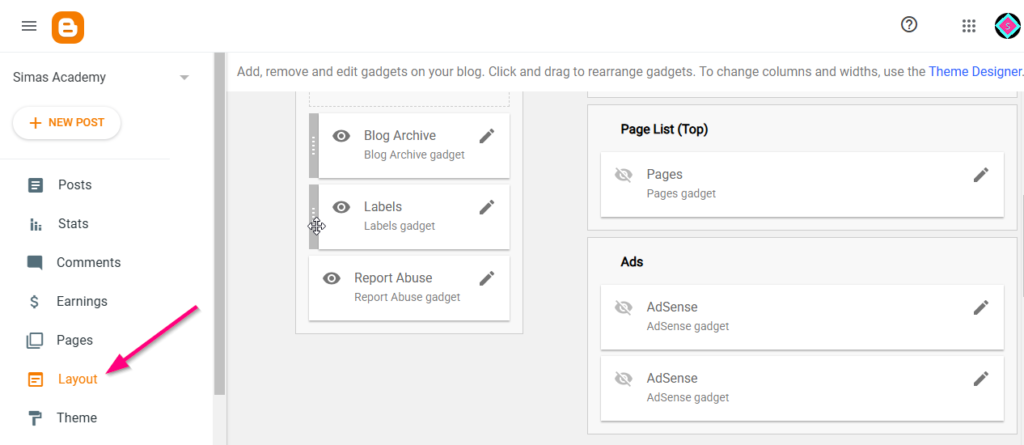
- Go to Layout in the Blogger menu.
- Drag and drop different elements to arrange them how you like.
- Click Save when done.
Step 3: Edit Your Blog Settings
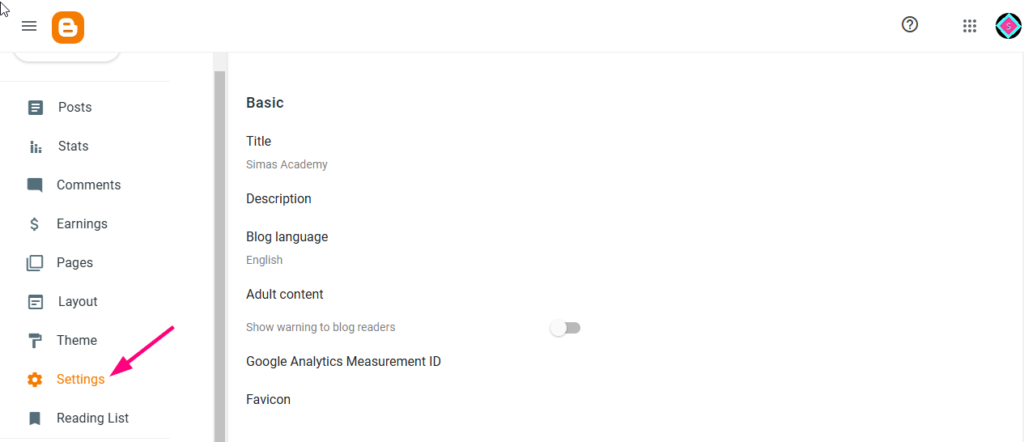
- Go to Settings in the menu.
- Update the title, description, and other details.
- Enable HTTPS for better security.
4. How To Create Your First Blog Post
Now that your website is ready, let’s publish your first post.
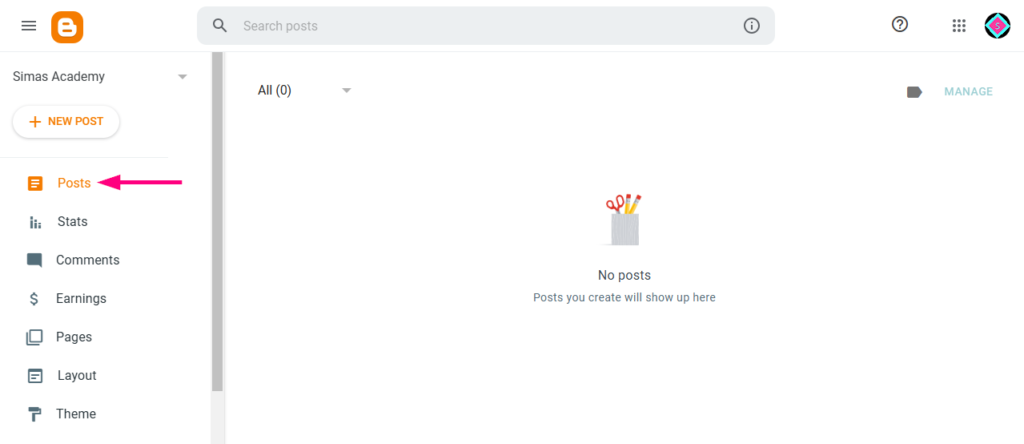
Step 1: Open The Post Editor
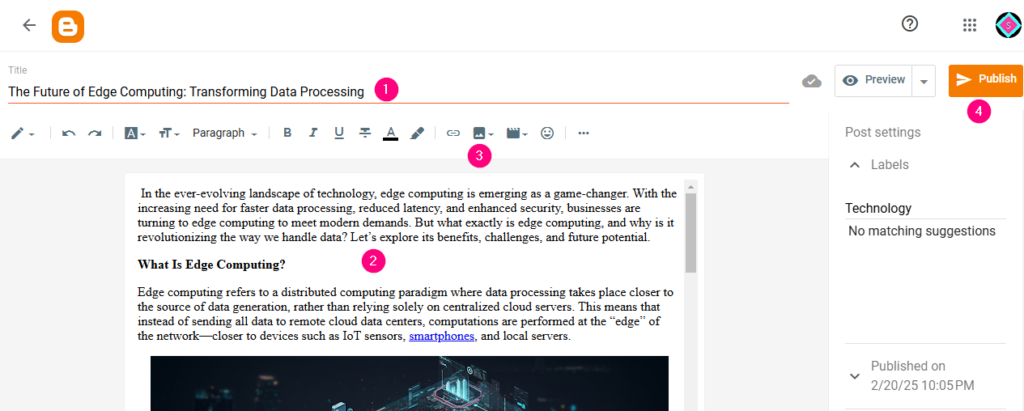
- Click New Post in the Blogger dashboard.
- Enter a title for your blog post.
Step 2: Write Your Content
- Type your content in the editor.
- Use the toolbar to bold, italicize, or add links.
Step 3: Add Images
- Click on the image icon.
- Upload an image from your computer or select from Blogger’s options.
Step 4: Publish Your Post
- Click Publish to make your post live.
- You can also save as a draft if you want to edit it later.
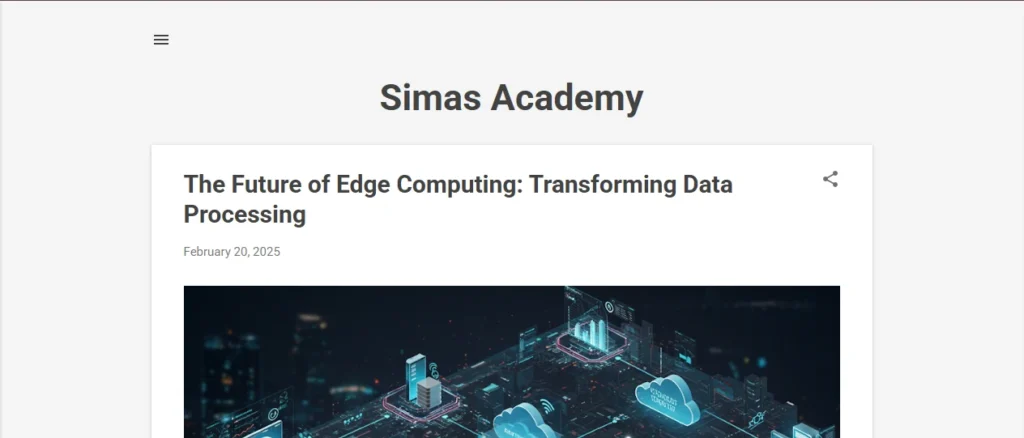
Your first blog post is now live on the internet!
5. Managing Your Blog
Here are some things to keep your blog active and organized:
- Post Regularly – Keep adding new content to engage visitors.
- Use Labels – Categorize your posts to make it easy for readers.
- Enable Comments – Allow users to comment and interact with your blog.
- Check Stats – Use Blogger Stats to track visitors and performance.
6. Conclusion
Blogspot is a great way to start a simple website or blog without spending money. It is easy to use, secure, and owned by Google. By following the steps above, you can set up your website in just a few minutes.
Now that you know how to create a Blogspot website, start customizing it and adding content to grow your online presence!


